
It really seems like you have to step up to $20,000+ printers to do significantly better things than this CTC printer can do. You would need to be running it constantly, and I'm merely a hobbyist who was looking to learn a few things and perhaps make a few things that could really be used in the real world.
I started out printing a few things I found on Thingiverse. I'm kind of surprised more people don't just grab things from there and pay to have them printed at sites like Shapeways. Before I bought my own printer, I did do 3D model of an enclosure I wanted and had Shapeways print it. The service takes several days including shipping, but it's not terribly expensive and the quality is quite good. But all it did was whet my appetite to be able to print my own things NOW. Enter the research and the purchase of the CTC printer.
The first few prints included some mediocre iPhone cases as well as a cool little GoPro mount, seen here:
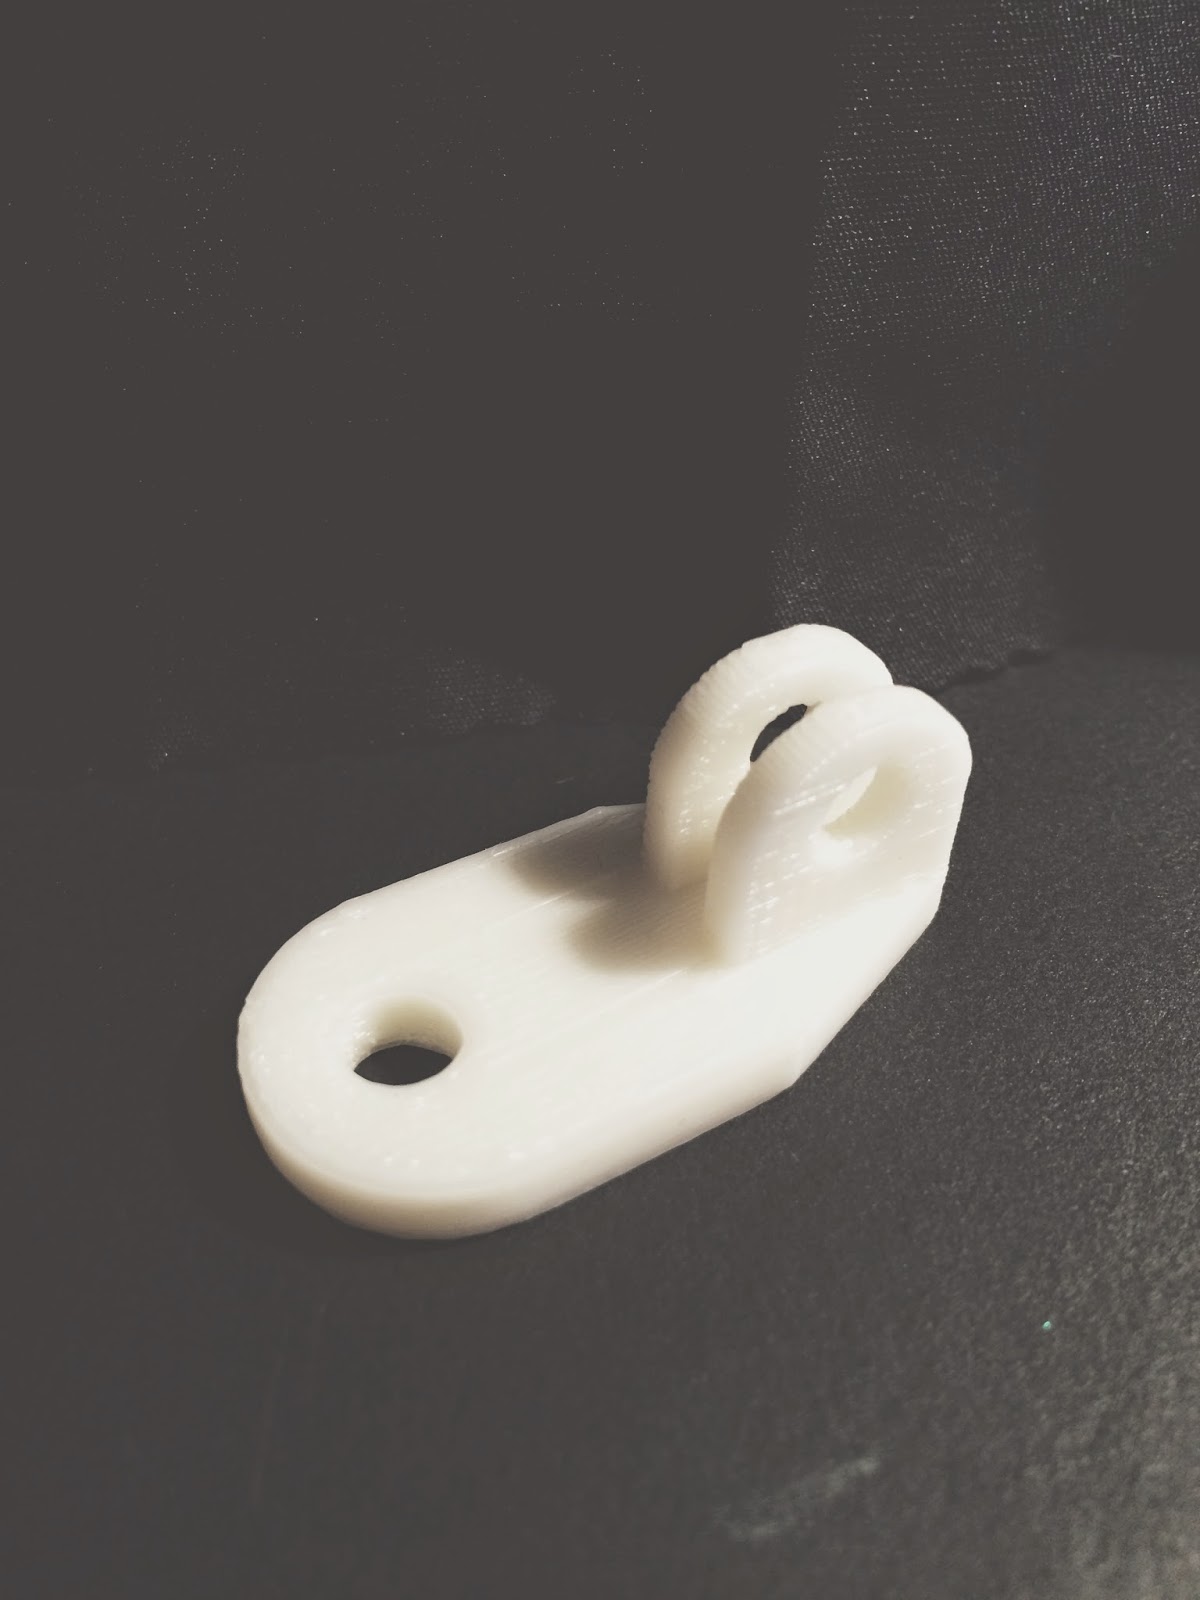
Not the most complex thing, but it actually works pretty well. Here's one used to adapt my mountain bike headlamp to work on the GoPro mount of my bike helmet:
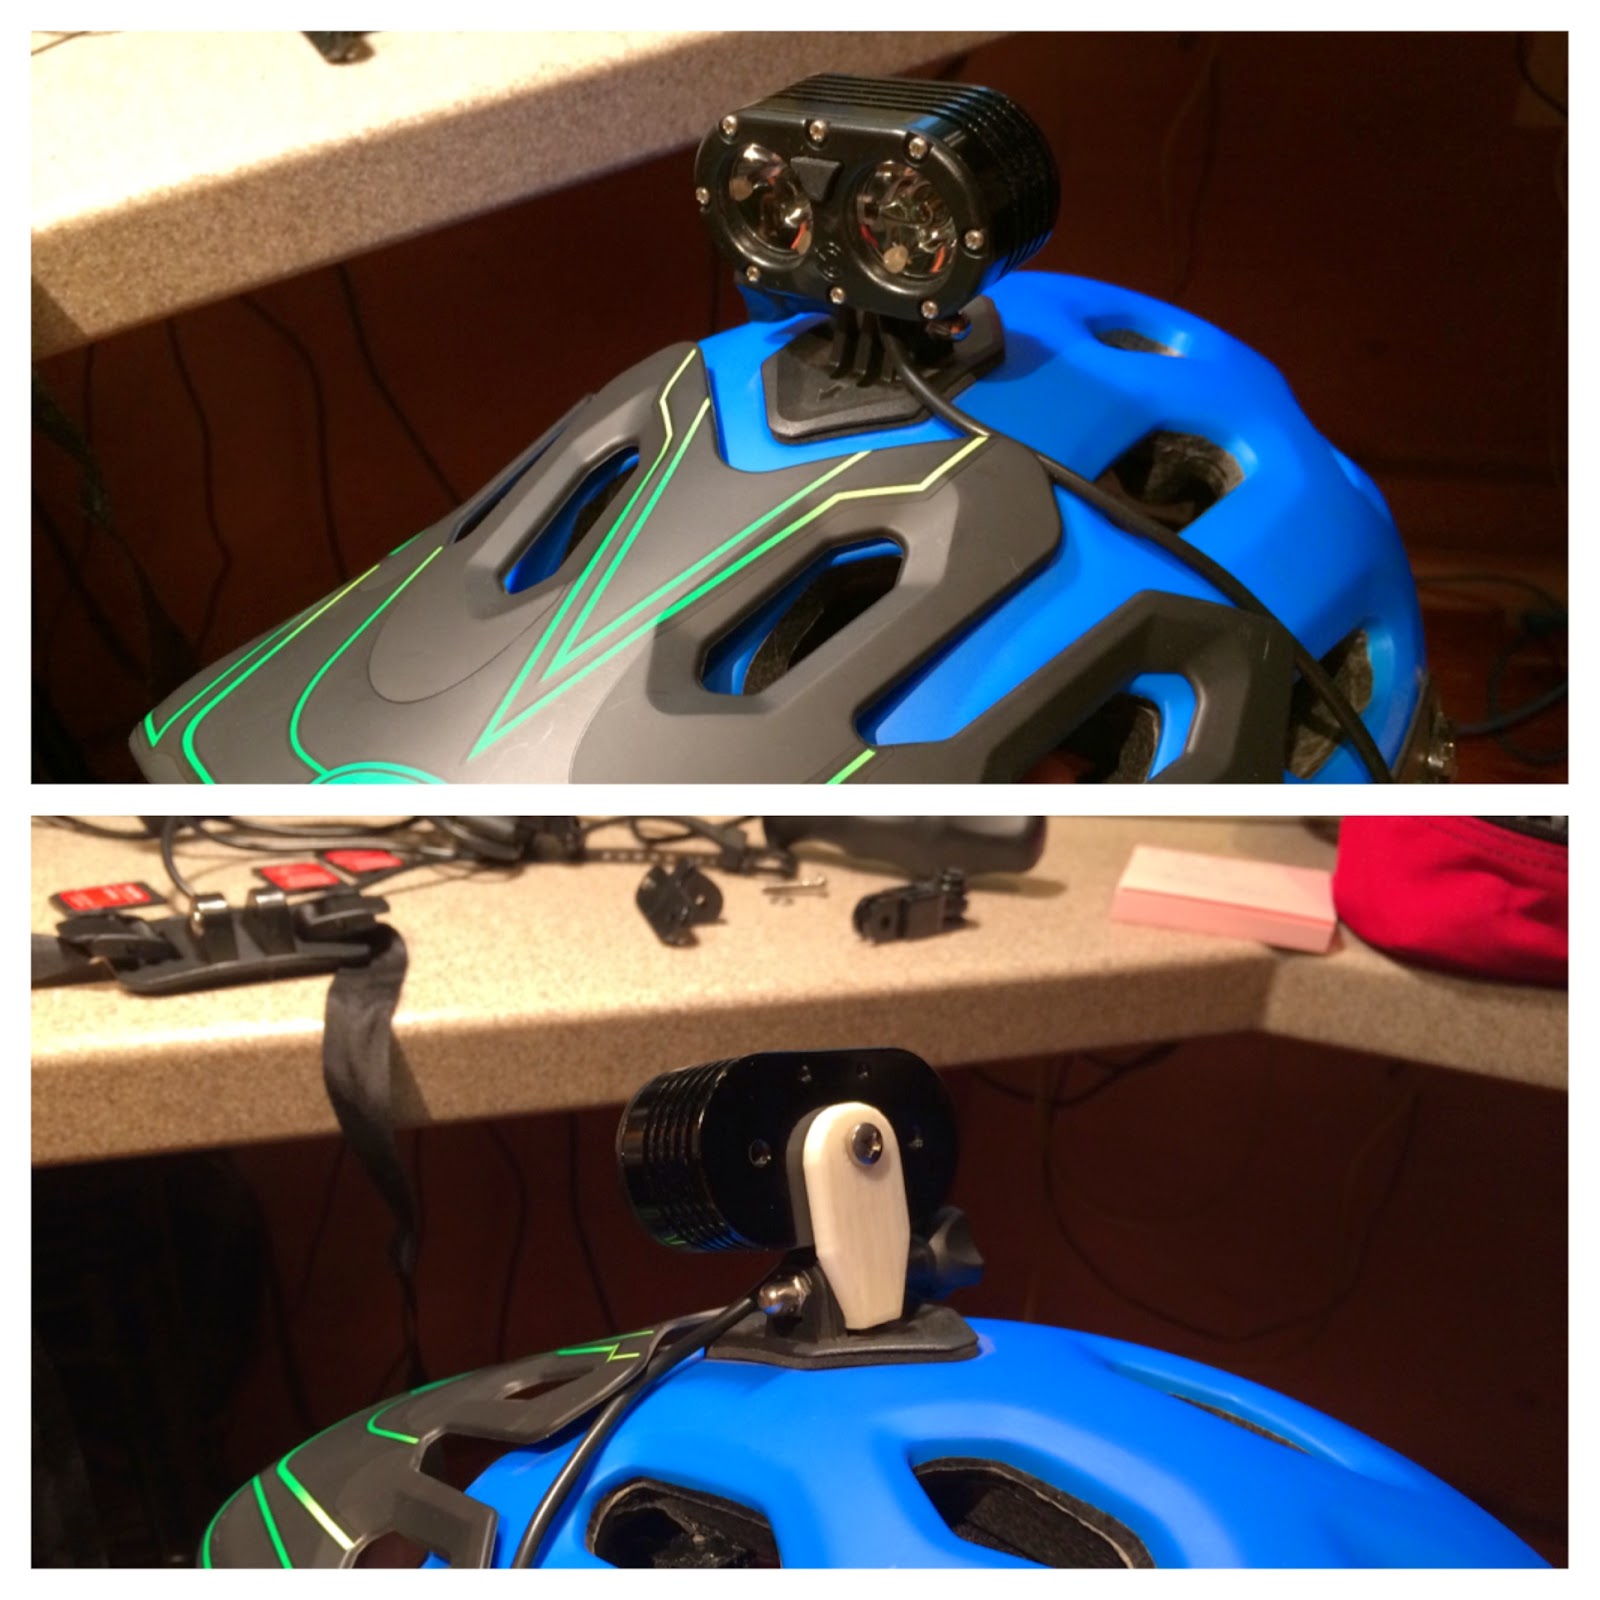
The material is VERY strong and fairly lightweight, too. If there's a downside it's that the color palette is a bit limited and the time to print is pretty slow. This little item takes about 25 minutes just to print, but setup and everything included makes it more like an hour for the first one and about 35 minutes for each one after.
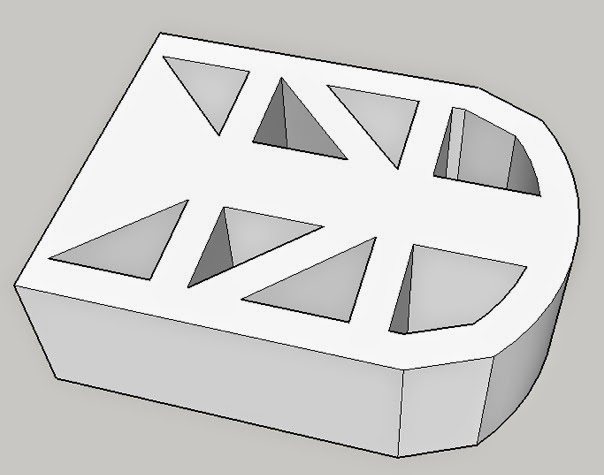
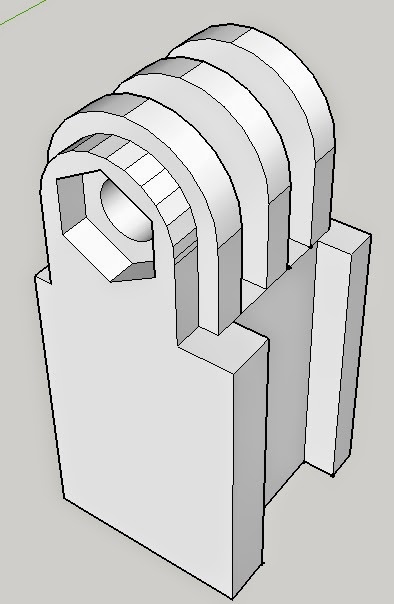
A fun thing to do is add a second video camera on the bow of the boat. Unfortunately there's no good way to do that on these particular boats (and we've tried several different sit-on-top kayaks for surfing, and these seem to work better than most for a 200 pound adult). So I set out to make something that would work in place of the grab handle in the front.
Here are the parts as I designed them in Sketchup:

There will be more almost-interesting things coming from my evil lab, but not until after the beach.
No comments:
Post a Comment